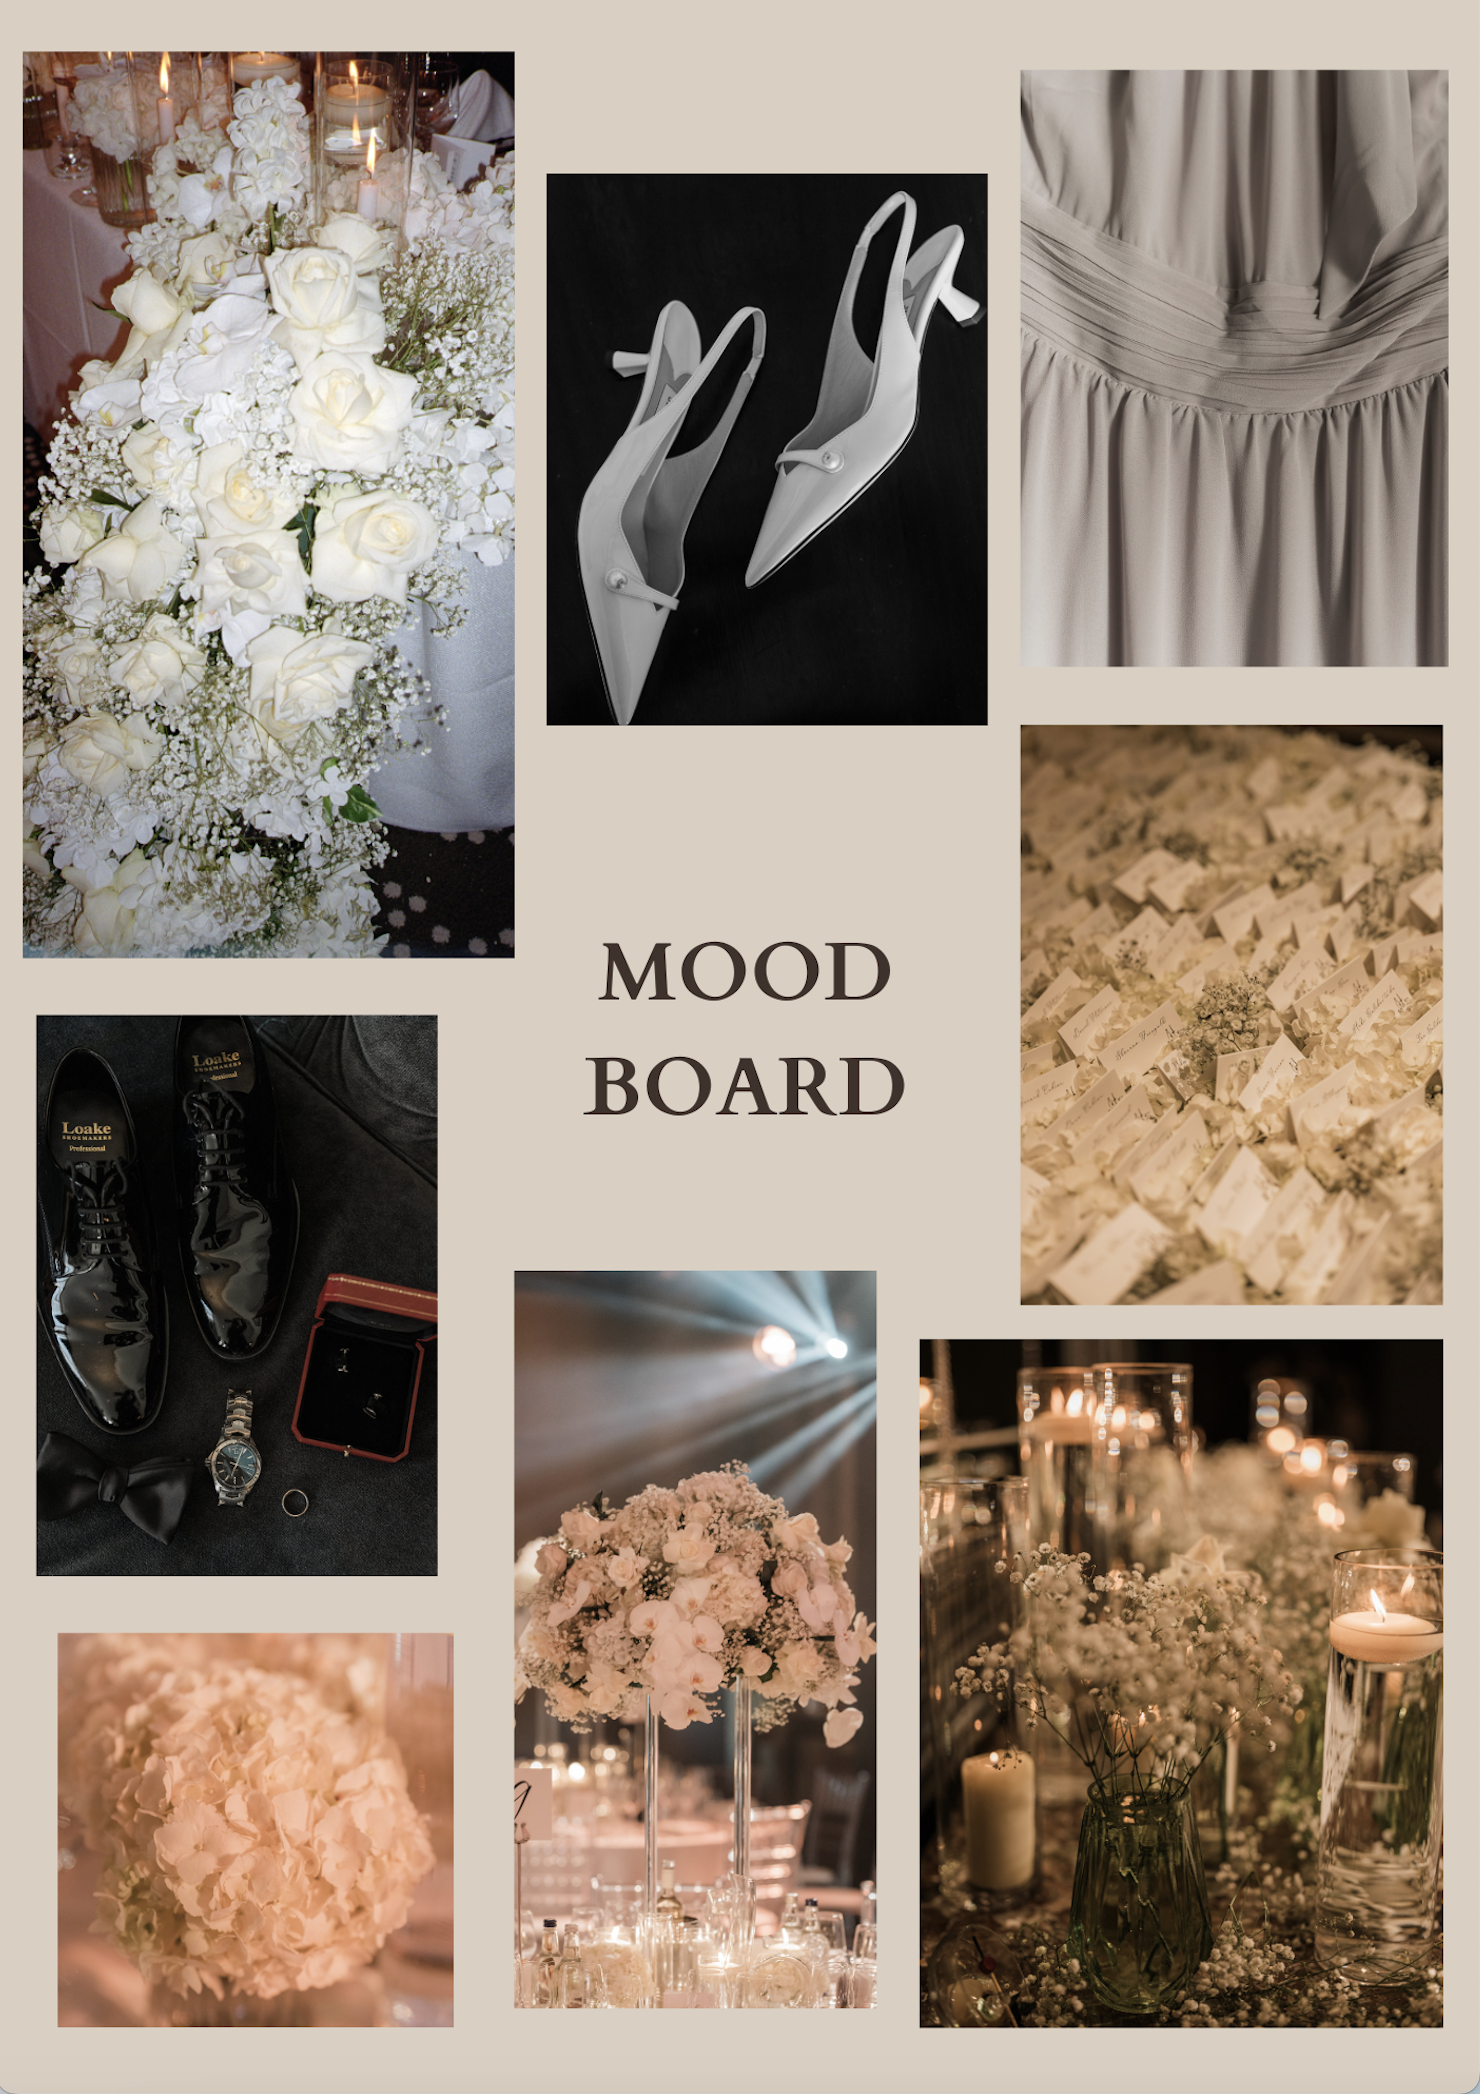
How to Create a Mood Board for Your Wedding Vision!
Before you dive into booking vendors or shopping for decor, it’s important to establish a clear vision for your wedding. A mood board is an effective way to translate your ideas into a visual language that you and your vendors can understand. It helps organise your thoughts, refine your style, and keep your wedding cohesive from start to finish. This guide will walk you through how to create a mood board that truly reflects your dream wedding!
Step 1: Define Your Wedding Vibe
Begin by envisioning the overall atmosphere of your wedding day. This isn’t just about colours and centrepieces, it’s about the experience you want to create for yourselves and your guests. Think beyond the visual details and focus on the emotional tone. Ask yourself:
- Are you picturing a formal black-tie affair, a relaxed beach celebration, or something more unconventional?
- Is your style more classic and elegant, or clean and contemporary?
- Will your celebration take place in a grand ballroom, a garden, a barn, or perhaps an art gallery?
Action step: Choose three to five words that best capture the tone and style you’re aiming for. Examples might include: romantic, rustic, elegant, whimsical, minimalist, bohemian, vintage, tropical, or chic. These words will act as creative anchors throughout your planning process, helping you stay true to your vision when selecting visuals, materials, and colour palettes.
Step 2: Choose a colour palette
Colour is one of the most powerful design tools you’ll use. Your chosen palette will influence everything from flowers and linens to attire and paper goods. Tips for choosing your colours:
- Consider your venue and season. Lighter pastels work well in spring, rich jewel tones suit fall and winter, and earthy neutrals complement outdoor or rustic weddings.
- Start with one anchor colour. Then build around it with two complementary colours and one or two neutrals.
- Think about how the colours will photograph. Some hues might look great in person but don’t translate well on camera.
Action step: Use tools like Canva’s colour palette generator to experiment with combinations. Once you finalise your palette, note the hex codes (digital colour codes) to maintain consistency across design elements.
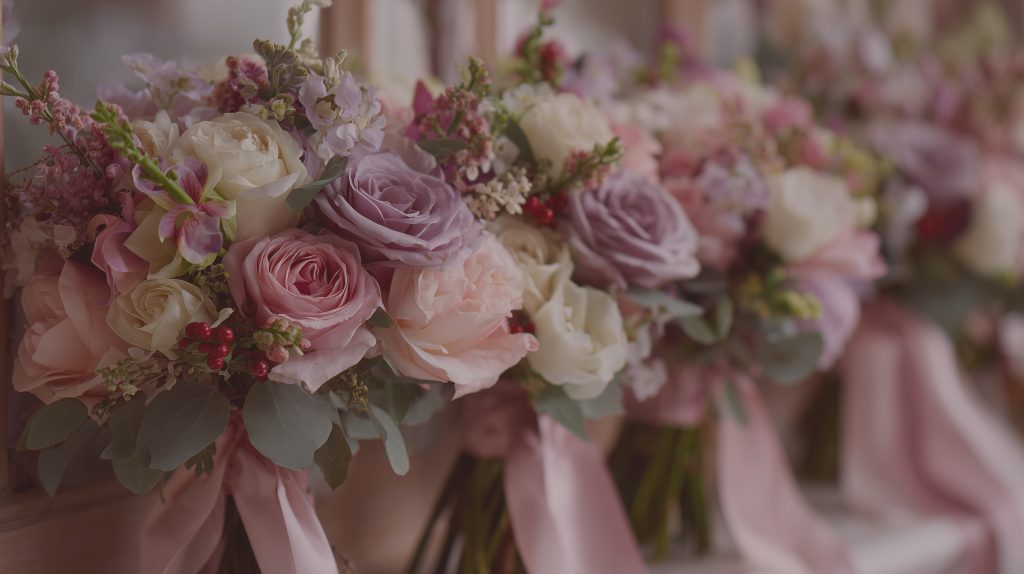
Step 3: Gather Visual Inspiration
Once you’ve established your overall style and colour preferences, begin collecting images that reflect your vision. This is where you explore all the creative possibilities for your day. What to look for:
- Florals: Bouquets, ceremony arches, table center-pieces, boutonnières.
- Fashion: Wedding dress styles, groom and bridal party attire, accessories.
- Decor: Tablescapes, lighting, signage, seating arrangements, backdrops.
- Paper goods: Invitations, place cards, menus, and other stationery.
- Venues and architecture: Images of spaces that reflect your ideal setting.
- Textures and patterns: Linens, fabrics, wood, metal, lace, or stone.
Where to find images: Pinterest (create a board dedicated to your wedding style) Instagram (follow wedding stylists, planners, florists, and photographers) Wedding blogs (just like ours!) Magazines (print or digital editions of wedding publications).
Action step: Save or screenshot everything that visually inspires you, even if it seems unrelated at first. Later, you’ll narrow it down to the most relevant elements.
Step 4: Build Your Mood Board
Now that you’ve collected images and colours, it’s time to assemble your mood board into a polished presentation. Digital and Physical options:
- Canva: User-friendly drag-and-drop templates. Add images, color swatches, and notes.
- Pinterest: Use boards to organise categories (e.g. florals, attire, decor) or combine everything into one vision board.
- Print out your images and glue them onto a foam or cork board.
- Include fabric swatches, ribbon samples, or other tactile elements for texture.
- Add paint chips or physical colour swatches for accuracy.
Action step: Arrange the elements thoughtfully so the board flows well visually. Group similar items together, balance colours across the layout, and avoid overcrowding.
Step 5: Refine and Edit Your Board
After your initial layout, take a moment to review your board critically. You want it to tell your story and not feel like a collage of unrelated ideas. What to consider:
- Consistency: Are the colours, textures, and styles working together harmoniously?
- Repetition: Are there patterns or motifs that repeat across images? That’s a good sign of cohesiveness.
- Outliers: Remove anything that feels off-brand or clashes with the overall aesthetic.
- Balance: Make sure your board isn’t overly skewed toward one element (like florals) at the expense of others (like lighting or paper goods).
Action step: Narrow your selections down to about 8-12 strong visuals that communicate your style clearly. It’s better to have a focused board than a cluttered one.
Step 6: Share It With Your Vendors
Your mood board is a valuable communication tool for your wedding planner, florist, photographer, caterer, stationer, and more. It helps them align their work with your creative vision and offer tailored recommendations. How to present it:
- Include your colour palette and 3 – 5 style words at the top of the board or in a note.
- Share digital links (Google Drive, Canva, Pinterest) or print out a copy for in-person meetings.
- Be open to feedback. Vendors may suggest practical tweaks while staying true to your style.
Action step: Keep your mood board accessible throughout the planning process to make sure your design decisions stay consistent with your original vision.
Final Thoughts
Creating a wedding mood board is one of the most exciting parts of the planning process. It gives you clarity, inspires your creativity, and ensures your wedding feels intentional and consistent. Whether you’re working with a planner or going DIY, a mood board is the bridge between imagination and execution. Take your time with it, trust your instincts, and most importantly, make sure it reflects you as a couple! To talk to the experts, arrange a consultation with the team at Cosmic Violet Events and we’ll be happy to discuss your vision,